What is a clutter coach?

You may have heard this term before but in case you haven’t, I have outlined what exactly a clutter coach does and 4 simple questions to know if a clutter coach could help you!

A clutter coach is basically a personal trainer for a someone who is struggling to control clutter in their home. Just like a trainer, we discuss your goals, evaluate your challenges, explore new daily habits to adopt and hold you accountable to ensure you are successful.

HOW TO know if a clutter coach could help you:

  1. Are you struggling with clutter in your home and overwhelmed by getting started or don’t know where to start at all?

  2. Are you finally ready to make a difference in your home but need some motivation and accountability to actually get it done?

  3. Are you prepared to make changes in your daily habits that will improve your relationship with disorganization and clutter?

If you answered YES to any of those 3 questions, a clutter coach could be a great fit for you.

Still not sure how the process actually works? I’ve broken it down into 3 simple steps below!

  1. You can start the process by taking a POP Quiz. This quick questionnaire helps me begin to build your Personalized Organization Program (P.O.P.) by identify what different factors might be affecting your clutter.

  2. After you take the POP quiz, we set up a strategy call to discuss exactly how we would tackle your specific goals and what levels of support you want to engage in. I offer 3 levels of support which vary by frequency of sessions & additional resources provided. Ranging from weekly to monthly coaching sessions.

  3. Once you decide which level of support is right for you. We schedule your coaching calls and review your Personalized Organization Program. Basically this is a step by step guide of how we are going to accomplish your goals. This is unique to each individual and may be altered over time to adapt to changing circumstances.

    Think of the “P.O.P.” like the work out program and meal plan your trainer

    puts you on to reach your fitness goals.

Your P.O.P. duration will be determined by us in the initial call. This will depend on how many spaces we need to address, how much time you are able to commit to the project and how much clutter we need to address.

That is the general overview but of course you may have additional questions. If so, I encourage you to take the quiz and set up the strategy call. Both are completely FREE and a great way to figure out if hiring a clutter coach is right for you!

let’s tackle your clutter together
Labeling 101: Tools & Pro Tips

I might sound like a broken record but labeling and container are the critical to staying organized. Labels are the only way to communicate to other members of your household where things belong. This is a great thing because it empowers others to help keep things tidy.

Below I’ve shared a few tools I use to help in the labeling process and tips that will help you be successful.

BEFORE YOU START:

  1. What are you labeling & how will it be affixed to the bin/basket? Are planning to attach the label directly to the bin/storage item? Will it stick? Cloth or whicker bins will likely need a bin clip. A bin clip is a great tool to attach to the bin so you put the label on that instead of the bin itself. You can find them in black, white & bamboo!

  2. What color is the background of what you adding it to? If you are labeling a clear/acrylic container, you want to make sure you can SEE the label both when full and empty.

  3. Don’t get too specific with your labels. Making broad categories will serve you better in the long run. Instead of the specific brand of drinks you might opt for “Beverages” instead of “Diet Coke” so that your bin can be flexible as things change.

TOOLS - You can accomplish labels really simply with a standard label maker. You can also handwrite labels with a chalk pen or washable pen! There are more customized options when considering using a vinyl cutter. The COFFEE label above is a white vinyl label made with a Cricut Joy (the mini version of a Cricut). I choose this because I had a black background and wanted white font from a visual standpoint. I could have also used a white chalk pen to accomplish the same goal.

  1. Brother P-touch Label Maker - This is perfect for those just starting with labeling. It allows you to quickly type your label, print & stick. You have some limited font options and multiple type styles that allow to your print:

    • White Font on Black Label Tape

    • Black Font on White Label Tape

    • Black Font on Clear Label Tape **my favorite look**

  2. Critcut Joy - A great vinyl sticker cutter machine for beginners. Cricut has an easy to use app that you can download to your phone, pick a font and print at your convenience. I will be honest, vinyl can be time consuming as there are many steps that need to happen before you can stick your label.

    Using the vinyl machine means you also need to buy vinyl, transfer paper and get familiar with weeding, font styles pros & cons & sizing your fonts appropriately for the item you are labeling. The up side is you can get really creative with font styles, sizes and colors!

    Vinyl labels looks AMAZING but are far more time consuming than other options.

TIPS:

  • Labeling is the very last thing you do!!

  • I will sometimes put temporary or handwritten labels and leave it for a week to make sure I like the location, sorting & visual I have created. Nothing is worse than finishing the labels and then deciding you need to switch something.

  • It doesn’t matter how you do as long as you add a label.

  • Labels are KEY for bins that are not see through - the goal is for you to know what is in the bin without having to look inside.

I am really am super excited for you to take advantage of this simple thing that can really make a big difference in your home! Send me pictures of your completed labels or shoot me your questions if you are stuck or struggling.

Some products above may be part of affiliate programs with Amazon or other retailers. I do receive a commission on these items at not additional cost to you.

Pantry Organization: Get Going with these 9 Steps!

If you’re ready to get started organizing your pantry but not sure how, this post is for you!

I’m here to help you break it down into a 9 simple steps so that you can notice a difference today!

Everyone is busy but I promise making a bit of time to tackle your pantry will be something that makes a big difference in your daily life. The steps below can be done together at one time or in increments. If you choose to separate them into increments of time, I recommend trying to do them in consecutive days if possible. You don’t want to lose your momentum.

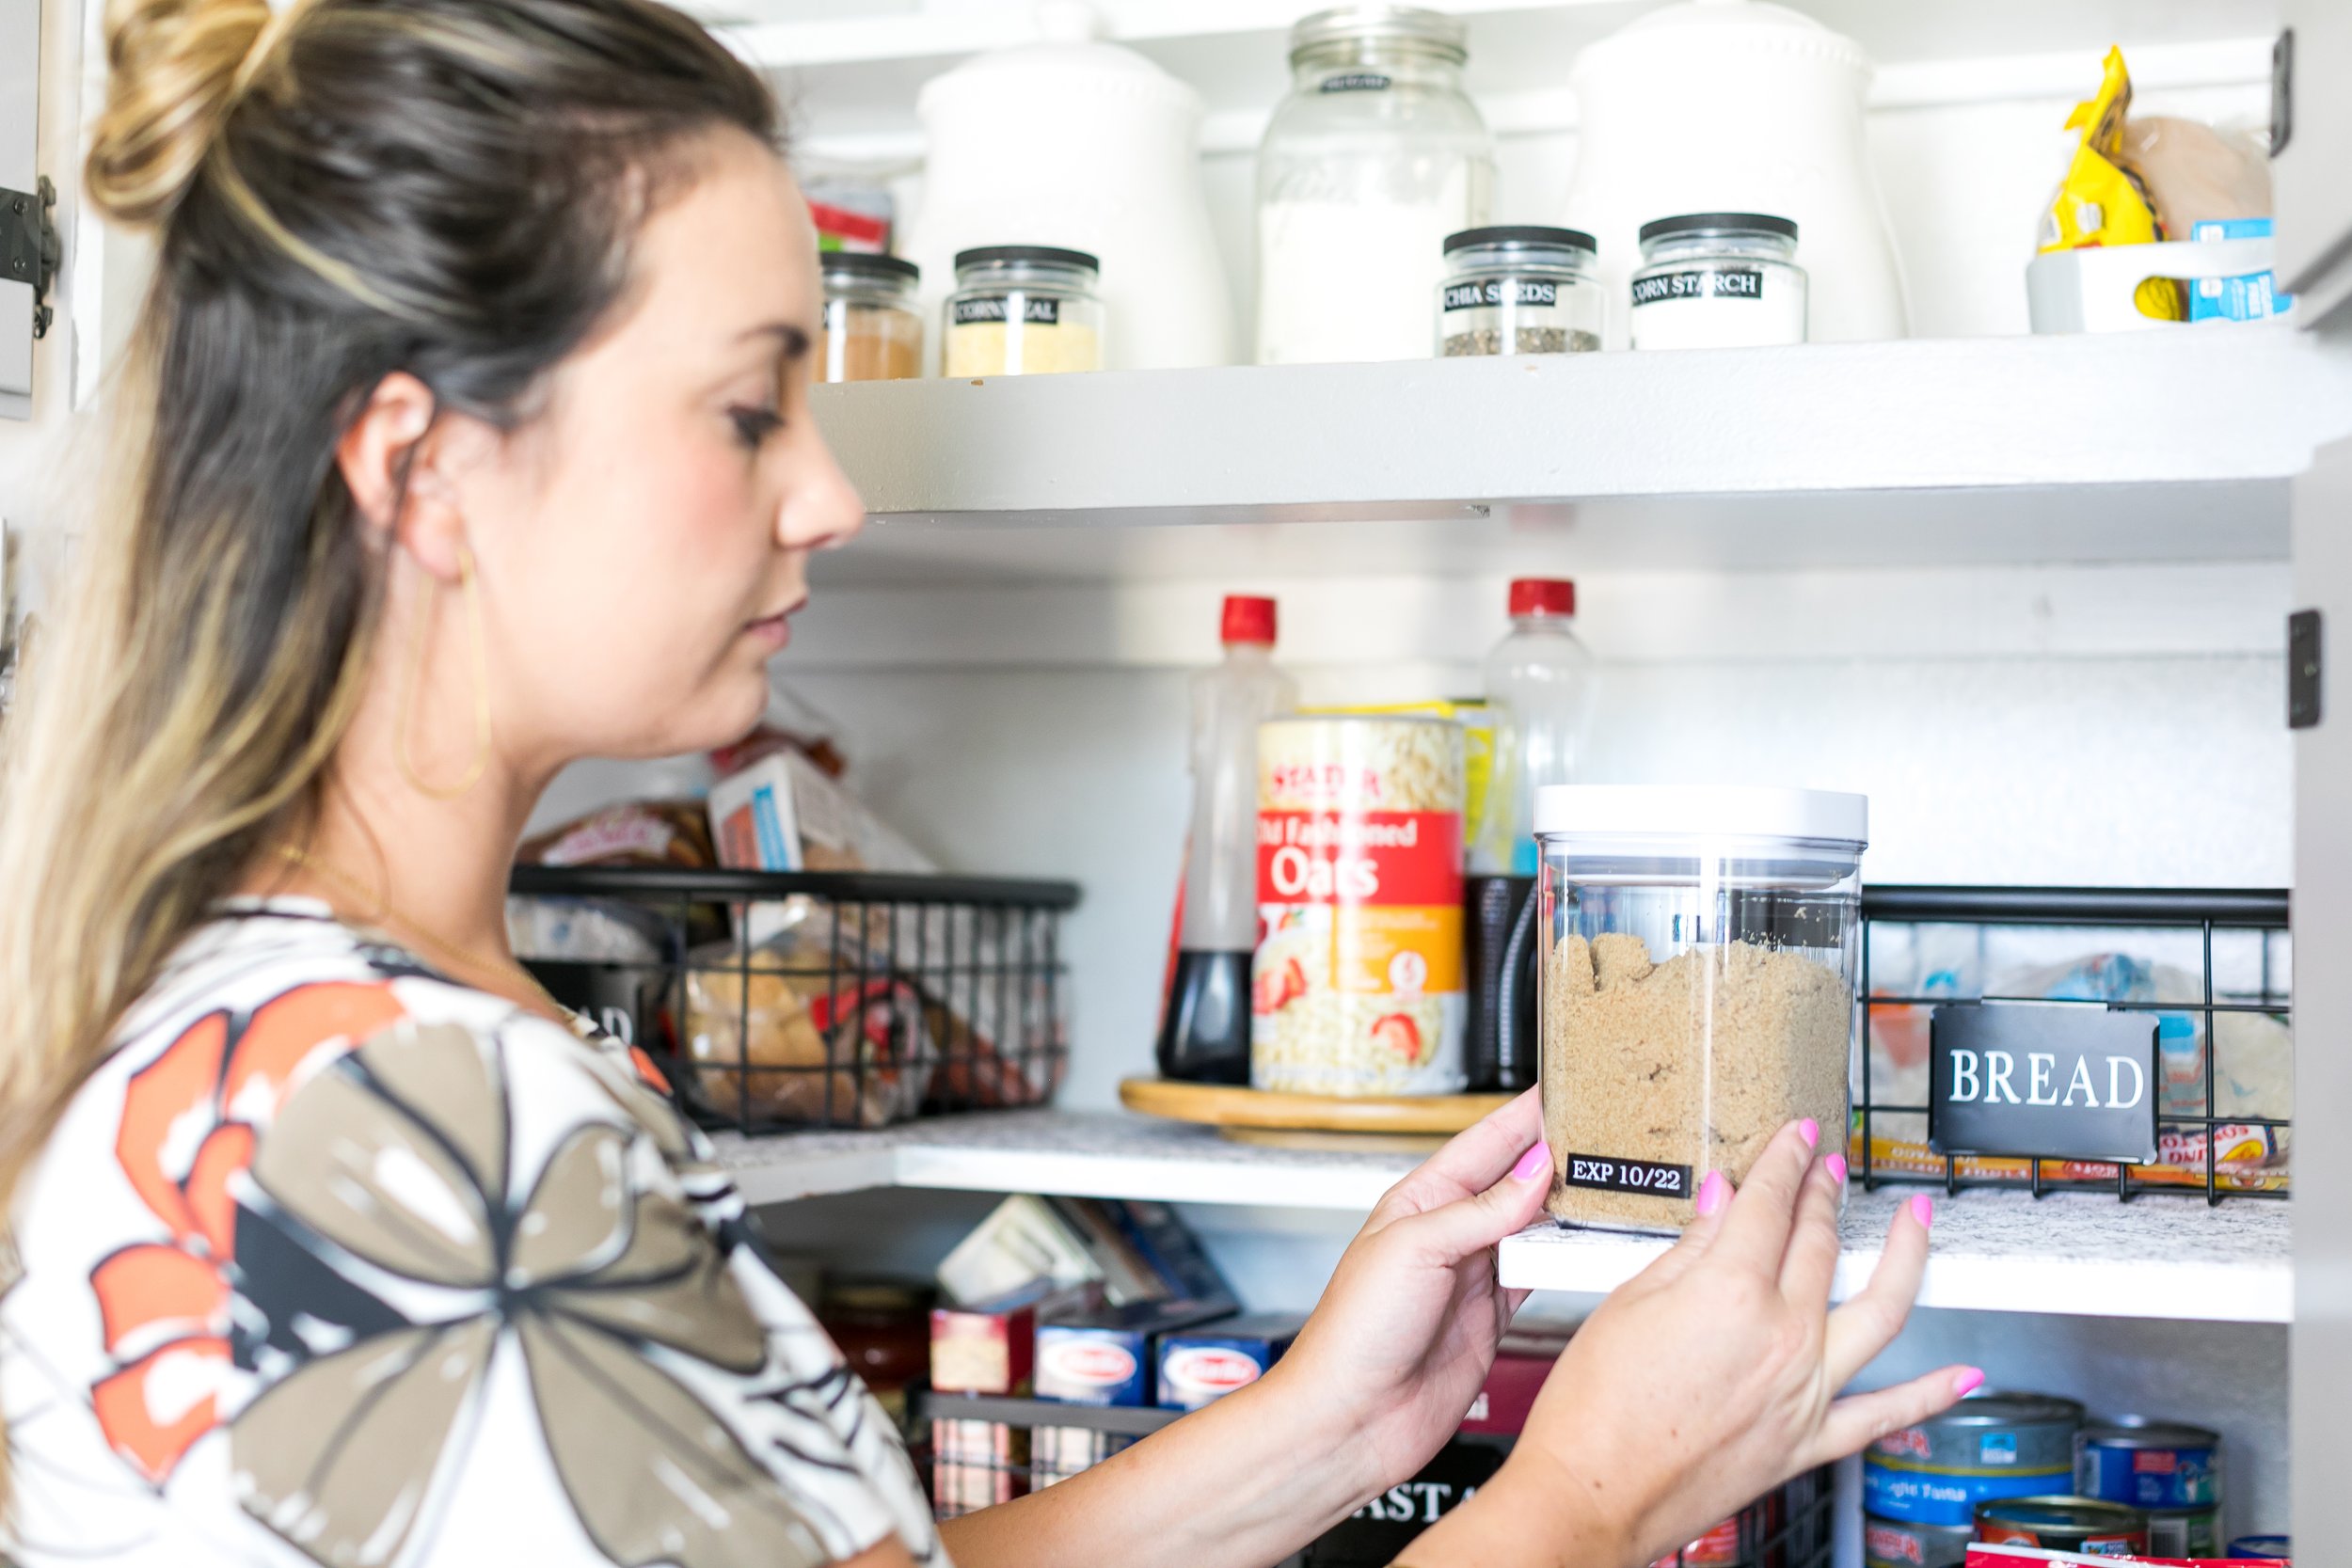
  1. Review all food and throw out any items that are expired. I really do encourage taking everything out of your pantry if you have time. That is the only way to really SEE what you have.

  2. Identify any food that is not expired but that you know you or your family will no longer eat and gather it for donation. This is a great way to give back to those in need.

  3. Identify your categories of food. I’ve included some sample categories below but make sure you identify what works for you.

    breakfast ~ snack bars ~ pasta ~ rice ~ bread ~ baking ~ canned soup ~ canned veggies ~ toppings/seasonings ~ overstock ~ kid’s snacks ~ specialty snacks ~ dry storage ~ chips

  4. Begin grouping all of your like foods together. Based on the categories from step #3, move all of the items from each category together.

    Pro Tip: don’t get hung up on one or two odd items, focus on the foods that make up a majority of your pantry, we will deal with the odd items at the end.

  5. Once you have everything grouped in place, evaluate or even take photos of how much you have any each category. This is key in picking the right products.

  6. Take measurements and lots of photos before you start shopping for product!

  7. Purchase what ever product you are missing. If you have some existing storage items keep them handy. I usually map out the space by placing all of my empty containers on the empty shelves to make sure I like the loop and style of the layout. I also identify which items are going to be stored in which types of containers while keeping in mind the amounts I have on hand.

    If I always have 6+ bags on chips open at any given time, I am going to need a larger bin than if I only have 1-2 flavors open at a time.

    Examples of products I buy for my own pantry!

    Pro Tip: don’t skin this step. Bins and baskets do not have to be expensive but without them the work you’ve put in so far will surely undo itself in short time. The containment and compartmentalization is the KEY to staying organized.

  8. Don’t forget to label! It doesn’t have to be fancy but without a label you’re setting yourself up for failure. Harsh, I know, but it’s the truth. Check out my favorite labeling products here. For less than $45 you can have a label maker and multiple tape styles/colors!

  9. Lastly, review your pantry with anyone living in the home. This will help ensure that everyone is on the same page and is dedicated to putting all of your food items where they belong!

Look at that. You did it! Don’t be afraid to make changes when appropriate. It is your space make sure that it works for you!

Deep Shelves?

If you don’t have pull out shelves, using bins is helpful to access the deeper parts of the cabinet.

In the example here, you can pull out the first clear bin to access the one behind making that deep part of the space more accessible.

Clear bins help make sure you can see what you have back there in that deep dark cupboard.

Full Disclosure: Some items linked here are part of the Amazon Affiliate program and I will receive a small commission at no cost to you. Not all items are affiliated, some are just favorites, I’d like to share!

25 Clutter Conscious Gifts

There are a lot of great resources on this topic but I wanted to add a few new ideas to the mix when it comes to clutter conscious gifting.

Many of their are experienced based and can work for any age!!

  • Tickets to a play

  • Tickets to a museum

  • Overnight staycation

  • Tickets to a game

  • A movie date night complete with treats

  • A fancy dinner date night

  • Treasury bonds

  • College fund contributions

  • Cooking class

  • Mani / Pedi

  • Spa treatment

  • Race track rental

  • Mini golf

  • Yoga class package

  • Theme parks

  • Donation on their behalf to a cause that is important to them

  • Fix something they have been asking for

  • Music gift card

  • Audio book

  • Subscription to a magazine

  • Name a star in their honor

  • Home cooked treats

  • Wine club

  • Cigars club

  • Adopt a family in need in their honor

Intentional Gift Giving

As we head into the holidays, I want to share some tips on how to navigate this season while making sure to stay intentional with our spaces and the homes of our loved ones.

Giving gifts is aligned with so many wonderful emotions. Gratitude. Appreciation. Love. Excitement. Endearment. Yet, even the best of intentions can sometimes come with unintended outcomes.

By no means am I saying that you shouldn’t give gifts. I’m simply saying, focus on your intention first and foremost rather than getting caught up in the hustle and bustle of the season.

3 reminders on how to gift intentionally:

  1. Don’t just buy to buy:

    I try to be really mindful of not falling into the “I need to get them something, but I have no clue what! I’ll just grab a random ______ that way they have something to open”. I try to focus on adding value to their lives not clutter so if I can’t find something that fits their needs, I move on to step 2!

  2. Consider Activities, Entertainment or Consumables:

    Often we hear of people wishing they got to see their loved ones more often, and reminiscing about that last great dinner out with their friends. Give the gift of dinner together, tickets to a show, or a great bottle of wine to share! Maybe even custom cookies from your favorite bakery. Time spent with the loves we care about is key to our joy in life and often a much more precious gift!

  3. Be respectful of their wishes:

    If someone you want to gift has asked for donations to a charity or something else in place of gifts or none at all, consider these requests strongly before buying them anything. Maybe they are looking to downsize and trying to be mindful of storage, maybe they are already feeling overwhelmed by their home. Whatever the reason, if they made it a point to address their preference, respect them by listening. It might not make sense to you but that’s okay!

Hopefully these help you head into the season with a simple plan to find easy ways to gift and be gifted !

Kid's Toy Organization - Where to Start!

You are not alone in having an overflowing mountain of kids toys. And, if you are a mama to more than one, you likely have multiple mountains. No judgement here. Getting organized with kids can be challenge for a variety of reasons but I wanted to share a few tips that might help you maintain these spaces without too much time and energy.

Now, if you are like 95% of parents, you do not have time to color coordinate the Legos. Trust me, my OCD is loving every bit of those Instagram posts but for me, and many people I know, it is not a realistic solution.

If you are getting ready to dive into a play room or kids space that is overcome with toys consider the items below while you are working and you will be so much happier with the result!

Check out my kid’s organization product recommendations before you get started!

Playroom before organzing

With OR Without the Kids - Many people ask if they should organize with their children around. I say, you know your child best but consider these things:

  • Just like adults, children have a connection to many of their items and parting with them can be overwhelming & emotional. Adults have the ability to better regulate those emptions. I firmly believe in teaching organization as part of any parental practice to some extent but if you know getting rid of toys is going to really challenge the child maybe only incorporate them for small portion at a time.

  • Teaching Kids to Organize - If you are just starting the conversation with your kids about getting organized and learning the compassionate task of donating to those in need, I recommend checking out this book, “Robbie’s Toys”. I just love these woman, also pro organizers, and the tool they created to help their clients & their kids get ready for organization.

Get Rid of Broken & Missing Toys

  • This one is easy. If the toy is broken and missing parts/pieces, let’s take back our space and get rid of those items. Often we hang on to broken toys with the best intention of repairing it. 9/10 I see that intention not come to fruition.

Pro Tip: If you say you are going to fix something and use that as justification for keeping it…

the broken toy, repair the torn dress, take the shoe to the cobbler etc. GIVE YOUR SELF A DEADLINE!! If the deadline passes, it is time to let the item go!

Learning Progression - Where are your children headed? What have they outgrown?

  • Take a look at the toys they may have outgrown both in size and cognitive learning. Toys in general often have an age range on the box. Be mindful of that.

    • What skills has your kiddo already accomplished? If there is a toy associated with that skill, then it is time to move on.

    • What area would make sense for new learning and development? Those would be the toys we keep, they might not know how to play with them quite yet but more difficult and complex toys are where they are likely headed so those may stay on a shelf for now but we will be brining them out before we know it!

Too much of a good thing

  • I have seen many birthday parties or holidays that resulted in duplicate gifts as I am sure you have as well. Clear out any duplicate toys you may have accidentally collected.

  • Be mindful of that both as a giver and receiver of gifts. Registries are helpful so that other family members or friends see what you actually need. For those buying, items not listed on the registry may already been in the home so if I do want to give an “off registry” item, I recommend asking the parent if they already have it and if I can’t find out, ALWAYS GET A GIFT RECEIPT. That way they can quickly exchange for something else.

Grouping Like Items - Don’t get too granular

  • For younger kiddos, general categories for individual toys often work well as it is much easy to put all of your toy trucks in a 1 or 2 bins labeled “TRUCKS” instead of each truck type sorted and categorized “Monster Trucks”, “Construction Trucks”, “Farm Trucks” & “Hot Wheels Trucks”.

  • As your kids age, the organization structure can become more advanced as they are beginning to read and likely hyper aware of the unique details of each type of toy truck set.

Containment, Storage & Accessibility

  • Having easy to access storage bins to contain toys really helps with the visual clutter as well as a clear starting point for what a “clean play room” is.

  • Per usual, containment is my critical request. Having a place, bin, shelf or designated spot on the floor. Doesn’t matter where/how but having a spot intended to hold specific items gives your kids a defined spot for when the “put it back where it belongs” request comes from you. If it always lives in a different place, that leaves this open to interpretation.

  • The basics - somewhere for books, bins for toys, designated spots for larger items like that princess tent or gymnastics mat.

Labels & Clean Up Time

  • Once you get the space sorted, it is important to set expectations with the kids on what clean up time looks like. Having clearly labeled bins (for younger kids even a photo label instead of a word) will help them know where things go without having to ask.

  • Teaching the importance of putting away toys or taking care of their things will lay the ground work for them taking care of their favorite things as an adult. If a more minimalistic life style and home is your preference, the earlier they learn this the better!

Playroom after organizing.

This quick session used only what storage the client already had but a bigger difference could have been made by adding additional shelving & storage bins for items that are still stacked on surfaces making access not as easy as it could be.

Containing Can Choas - 5 Options to Fit Your Pantry

There are a handful of different ways that can be used for canned food organization. Cans are often a culprit of pantry disorganization as they often get stacked or pushed to the back. Both problems lead to not being able to really SEE what you have and how much. Below, I have outlined a few different products that help to contain them and add a more organized look to your food storage.

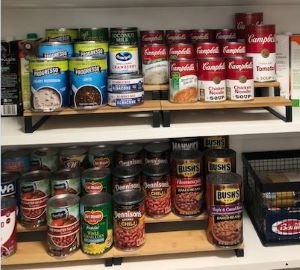
  1. Tiered Can Risers - This style is the probably the type I use most often. There are a variety of styles and materials and costs are relatively inexpensive. The one downside is they can take up a lot of space on the shelf so if you are somewhat limited, you might want to consider some of the other styles. One other item to consider is that you cannot see the full label so the best practice would be stacking only the same item behind the front item with the newest in the back. The ones shown in the photo are actually 2 sets of an adjustable option that I separated to create two even displays but if you don’t have many items to store 1 adjustable riser may do the trick.

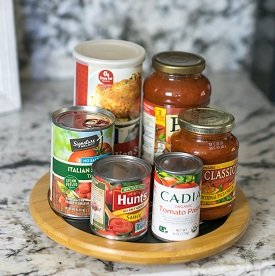
2. Lazy Susan Can Display - My pantry has a lot of tight corners so I use single tier bamboo lazy susans for some of my can categories. For example, I use one for soups and another for sauces and broths. This option will not hold as many as other products and likely not all of your cans can be stored this way but I find it helpful for certain items that I access regularly. Here’s the link to the ones I use in my pantry!

3. Tiered Rolling Rack - This option works great on using vertical space and still allowing you to see many of the labels for your cans. They come in a variety of materials and are gravity feed to make add a bit of efficiency. Be sure to measure before you purchase as these are often not adjustable and can be quite bulky. Here is a great option that goes with a black and bamboo design.

4. File Folder Bins from the Container Store - I saw this on Pinterest and think it could be a great solution for certain pantries or storage set ups. Having a bin allows you to grab it out of the space easily to refill or prep in bulk. I also like how you can individualize the categories but I do think this would work best for your bulk items and maybe use another solution for your one-off cans. You don’t want to use an entire bins for something you only have one or two of.

5. Wall Mounted Custom Dispenser - This is one is an Etsy find that could be really cool if you have the space and the ability to install something custom. If you are up for a challenge it could be a great DIY project as well. I love that you can still see quantities and again, this is a great option for things you keep on hand in bulk.

5 Steps to Maintaining Your Organized Pantry

Once you have done the work to get the pantry organized, it is important to incorporate a few new habits so that your hard work doesn’t revert to the chaos you have already overcome. Here are 5 tips that I used in my own pantry and recommend for my clients to keep their spaces looking tidy.

  1. Utilize Backstock Bins - I often buy in bulk and end up with duplicates. The trick to this being helpful is keeping your backstock in a close place so you don’t forget that you already have a backup of particular items. It is the worst to go buy more of something you think you are out of and come home to find you already had a back up . Here are my favorite baskets.

  2. Place Newer Duplicated Behind Older Ones - If I have multiples of something, I always place the older item to the front of the shelf. This helps me use what needs to be used first and helps limit waste due to expiration or multiple items of the same thing being opened at the same time.

  3. Monthly Review of Expired Food / Food Not Being Eaten - I try to do a monthly review of all the dry goods in my pantry and check for expired items or close to expired. I also look for food that my family is just not eating. If it is not being eaten and isn’t expired consider donating to a local food pantry.

  4. Establish and Update Labeling As Needed - Your food changes. New meal plans, new dietary restrictions, new people in the home. Just being you labeled your bins to start with, doesn’t mean they will stay that way. This is a small but impactful task so you don’t end up with overflowing bins or even worse consistently empty bins. If your food changes/shifts so should you labels.

  5. Update Product To Accommodate Changes - Similarly to updating labels often, I review if the product I am using is still working for my items & quantities. Often times I walk into pantry that do have some product in place already but often that 1 bin is overflowing onto the surrounding shelves so it is just about sourcing better product that is actually going to capture the entirety of that group.

DON”T FORGET - Key to sustained success is getting the entire family on board. Having clear labels and appropriate sized bins will help your family in making sure when they return items they go in the right place.

I hope this information was helpful! Keep me posted on your projects, I love to see your pictures.

Full Disclosure: Some items linked here are part of the Amazon Affiliate program and I will receive a small commission at no cost to you. Not all items are affiliated, some are just favorites, I’d like to share!

The Low Down on Lazy Susans!

No, I am not talking about your mom’s lazy friend Susan. I am talking about the most functional organizing tool I have every used and something that probably ranks highest as one of my favorite things of all time.

In my opinion Lazy Susan‘s are one of the most versatile organizing tools out there! I have found uses for them in almost every different space in the home and the many variations that are available make incorporating them a no-brainer. Check out my favorite ones here!

Below you’re going to find examples of all of the different ways I have used Lazy Susan‘s and also a few different types of lazy susans that I have found useful throughout my organizing career.

  • Pantries: They are great for tight corners or even those hard to reach top shelves. I’ve used them to organize oils, spices, spreads, canned goods.

  • Bathrooms/Medicine Cabinets: They are great for under the sink storage or bathroom shelving and provide the perfect option for hair, face and body products. I have also used them for vitamins and supplements.

  • Craft Rooms: Divided lazy susans are great for organizing craft supplies; whether, it’s separating different types of art materials or crafting tools, they really can be a game changer. The fact that you can pick them up and bring there to where you are working also is an added bonus.

    I’ve used lazy susans in all different types of material including bamboo, acrylic, plastic, or metal. You really can find one that fits the look and style of your space. Lazy susans can be: single layer, two-tiered or divided.

    They also come in a variety of sizes so make sure you measure your space. Usually 10’’, 12’’ and 14’’ circles are the most common.

Full Disclosure: Some items linked here are part of the Amazon Affiliate program and I will receive a small commission at no cost to you. Not all items are affiliated, some are just favorites, I’d like to share!